
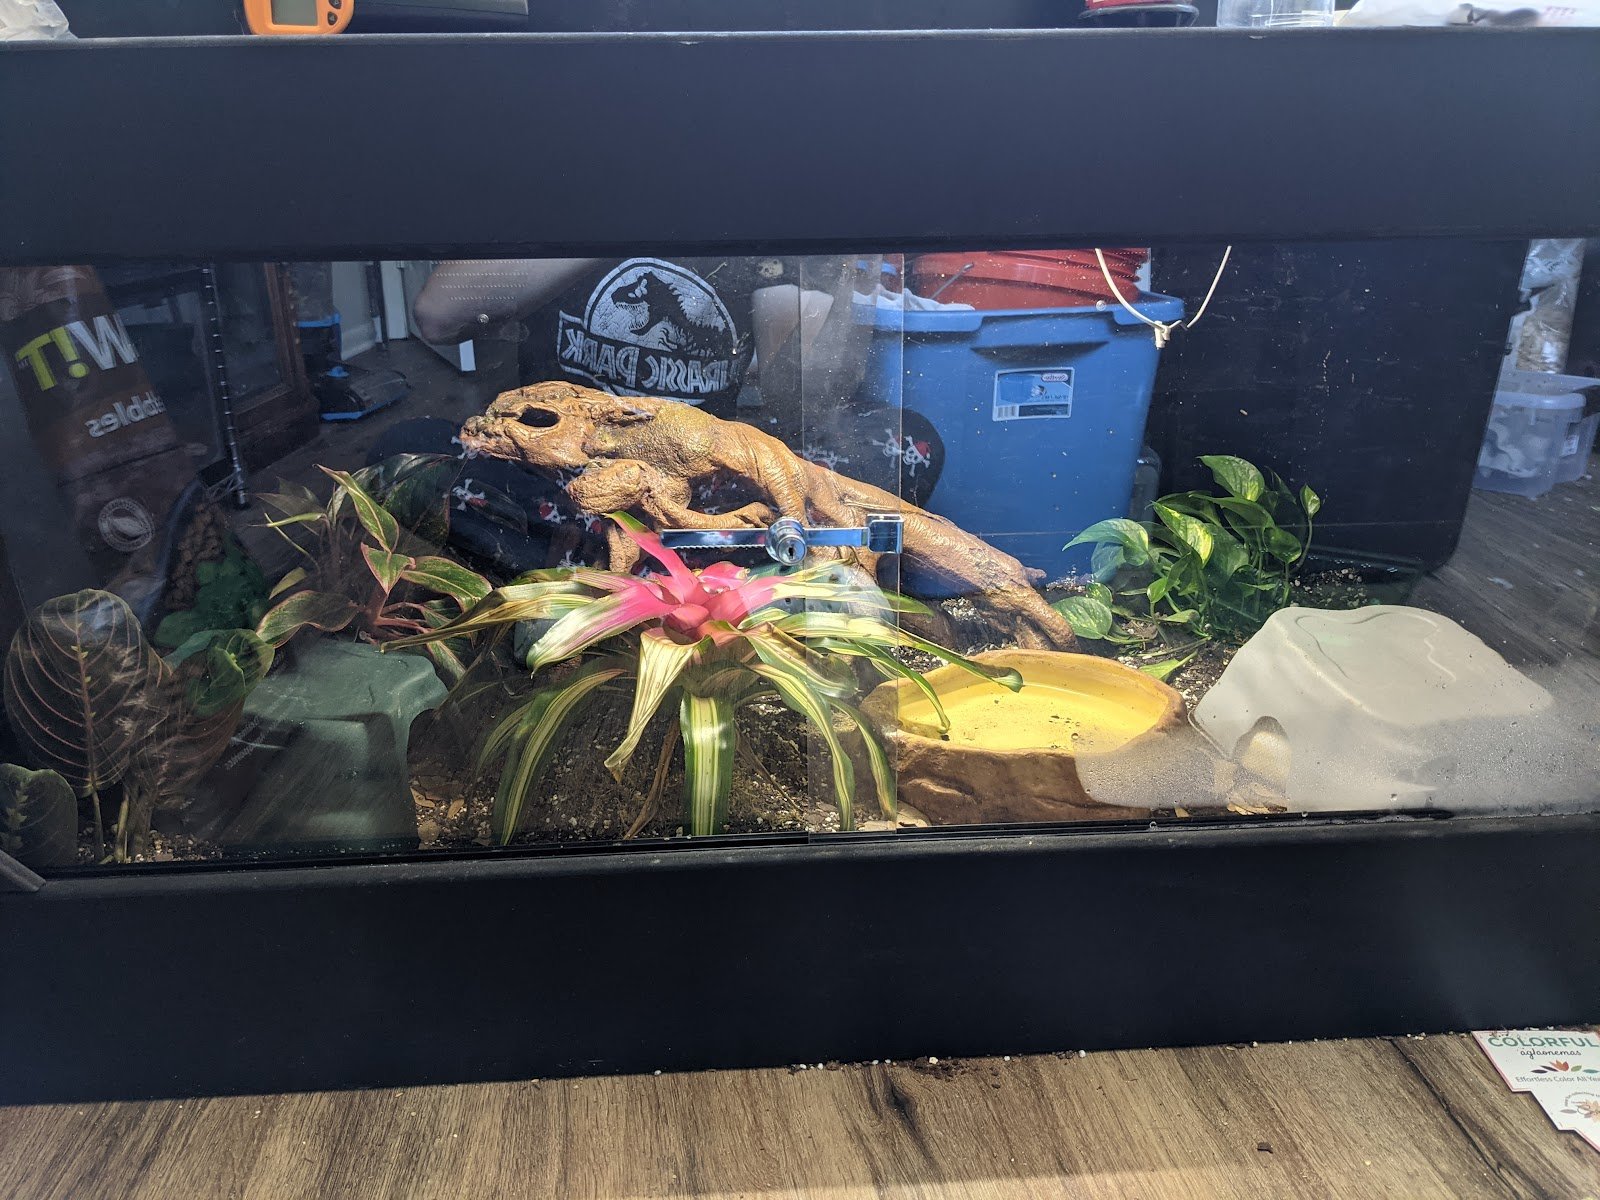
Bioactive Enclosures

What is a bioactive enclosure?
A bioactive enclosure is a type of setup for an animal meant to mimic a small ecosystem. These will need more complexity of a natural ecosystem, so it is vital to keep yourself up to date on best husbandry practices and any new research in your pet's natural habitat field. This article will be an excellent place to start for most animals that live in small to medium-sized enclosures (20" by 10" by 12" - 4' by 2' by 1') and for animals that stay in their sections, the majority of the time. Additionally, this will focus on reptile and amphibian setups as their metabolism is slower than similarly sized mammals. This allows the clean-up crew to do its job without it being overwhelmed.
Why bother making a bioactive enclosure?
So far, you have seen letters and numbers, and if you are anything like me, you are having flashbacks to high school algebra, and you have found yourself wondering, "Why bother?". This is very reasonable as this process requires significant upfront time and monetary investment. However, bioactive enclosures not only have several benefits for your pets but for you as well!
The most considerable appeal to bioactive setups is the ease of day-to-day maintenance. For most enclosures, all they need is an appropriate misting and cleaning up old food. Gone would be when you have to empty their compartment and wash everything down with a bleach solution, followed by refilling your enclosure with a new substrate. In addition, bioactive enclosures take inspiration from nature and its ability to reuse material. After all, there isn't a human to change animal substrate in the wild.
Bioactive enclosures are composed of 4 main parts:
Clean up crew
Substrate
Vegetation
And Lighting.
These will change depending on your pet's needs, but the benefits for most animals are similar. First, they will have a more complex and exciting environment to help keep your pet alert and happy. Additionally, these setups tend to have more stable heating and humidity conditions which means more comfortable and cozier pets too!

This begs the question, "What kind of animals are good for bioactive enclosures?" These setups are ideal for many small to medium-sized reptiles and amphibians. The range of these animals in the wild is quite far, so be sure to research and see what environments are ideal for them. The enclosures can be further customized to fit the needs of many species of geckos, frogs, toads, newts, lizards, and many snakes. Small mammals and birds are generally not the best candidates because they tend to produce too much excrement too quickly for the size of enclosures they are usually kept in. This is compared to the slower metabolism of the reptiles above and amphibians and, thus, less waste for the clean-up crew.
What is it going to cost?
The price of isopods is $15-$150, and springtails are $8-$14
The cost of coco fiber is $15, peat moss is $8/ topsoil $13, screening material is $11, drainage layer $50, perlite $7, and play sand $8
The price of plants is $30-$300
The price of lighting is $50+
On the high end, the total cost, not including the enclosure, is about $875 if you "spared no expense."
On the low end, you have about $215, which is much more reasonable for most folk. Keep in mind that if you have the basics, you can still add to and upgrade the enclosure over time which is what I recommend for those on tighter budgets.

How do I make bioactive enclosures?
“Research, research, research.”
Research is vital for getting any pet, especially when making your own bioactive setup. Not only do you need the knowledge that goes along with proper heat and humidity parameters, diet, whether or not the animal will be handleable, etc. But also research that animal's natural habitat and see what plants are safe to be around your animal, whether or not your animal preys on the clean-up crew, what a good substrate substitute may be, or any other pertinent factors you find while researching. This is only a general guide, and each enclosure must be customized to accommodate your animal.

Set up the Cleaning Crew in separate bins (ideal but not necessary)
This step is suitable for anyone looking to have multiple enclosures and if your animal preys on the cleaning crew, particularly the isopods. They can also be kept as a backup in case conditions in the enclosure cause a previous colony to collapse. This will add about two weeks to your setup timeline. However, I have grown to love the little critters.

Set up drainage layer
This step may vary depending on what you decide to use as a drainage substrate; however, as a general rule of thumb, you want to thoroughly rinse the substrate to get as much fine dust as possible. This could be solid enough to withstand the weight of the dirt on it. Generally, clay hydro-balls are a hobbyist's favorite, and admittedly one of mine, but most solid, slightly porous materials will work like lava rock or the like. This layer will harbor the breeding ground for your springtails, keep your plants safe from overwatering, and help humidity stay more consistent.

Set up screening material
You will want to cut the window screen to the size of the enclosure bottom plus 1 inch in each direction. Then place it on top of the drainage layer with the excess material facing up. This is going to separate the substrate from the drainage layer. (Pro tip: if you snip the corners of the screen, starting from the corner and going about a 45-degree angle toward the inside and about an inch deep. It makes placing the screen much more accessible.)

Substrate
Once you assemble the ingredients for your substrate and mix it in the proper ratio for your animal, you can add the substrate to the drainage layer.

Lights
Set up your grow lights in your animal's enclosure! Be sure your animal cannot access any part of the light that may be harmful to them, like wiring, the heat sink if you are using LEDs, or the bulbs on an incandescent or halogen.

Set up Plants and Clean Up Crew
This may feel like two steps in one, but these two things must be done together for the long-term health of your bioactive enclosure. Plant all your plants and release a starter colony of springtails and isopods. Place the plants in the enclosure and arrange them until you are happy before committing to planting them. Also, ensure you add food for your clean-up crew so they can establish themselves in your enclosure. (Pro tip: if you use potted plants whose roots have firmly pressed and shaped themselves into the pot, break the root structure up a little to encourage growth into the new substrate.)

Acclimate enclosure
This step, for me, is the hardest. You should wait at least two weeks before moving your animal in so the clean-up crew can establish themselves and for your plants' roots to develop strongholds into your substrate. This is always hard because the enclosure looks beautiful, and I always want to move my animal immediately! However, the temptation must be resisted because one of the most common ways bioactive enclosures fail is the animal dislodges the plants from just moving around/climbing on them. Having sufficient time for your section to acclimate will minimize the risk of that happening.
Add your pet and take pictures!
Finally! You have been staring at your beautiful enclosure for weeks now, and today is finally the day you get to move your little friend into their new home. Make sure to take lots of pictures and share them with us!

Resources for further information on specific species I recommend:
https://www.snakediscovery.com/
Additional resources:
[1] https://edsplantshop.com/products/leca-balls-expanded-clay-balls-hydro-balls
[2]https://jjsnursery.com/deliveries/product/lava-gravel-black/
[3]https://www.windowscreenmanufacturer.com/
[4]https://www.popsci.com/science/article/2009-12/just-how-old-dirt/
[5]https://youhadmeatgardening.com/best-grow-lights/
[6]https://www.amazon.com/Houseplants-Plants-Containers-Planters-Pets/dp/B09K9JQ8CD
Written By: Jacob VargoEdited By: Jesse Ragon